

Don’t wait until the last minute to get your camper or RV in order. Note: if you decided to dewinterize your RV before temperatures are consistently above freezing, make sure to take measures to ensure pipes don’t freeze.
Dewinterizing for Spring
1. Inspect the exterior of your rig. Before doing anything else, give your camper a once-over. Make sure to check:
- Seals for cracking or damage,
- Roof for leaks or water damage,
- Vents for critters, bugs, and nests,
- Tires for cracking, inflation, and tread, and
- Spare tire to make sure it is in good condition and inflated.
2. Take a look under your rig.
- Inspect the underside of your RV for any nesting critters or insects (like wasps and dirt daubers),
- Check the plumbing for any leaks or damage, and
- Check any wires or gas lines for damage.
3. Give your rig a good wash.
- Wash the outside including the tires. (This is a good time to further inspect for any damage that needs repairing.)
- Make sure to wash the roof as well.
- Go inside and check for leaks. Spraying your camper down can help you find any leaks before you’re in a rainstorm.
- If you have solar panels, make sure to wipe them down as well. This will ensure they are capturing as much energy from the sun as possible.
4. Get your batteries ready.
- Check the water level in your batteries and make sure it isn’t low.
- If you didn’t keep your RV’s batteries topped off over the winter months, go ahead and charge them up now.
- Re-install and connect your batteries.
5. Flush your water system. This is especially important if you winterized your RV using non-toxic antifreeze.
- Drain your fresh water tank.
- Attach a garden hose to your camper, and turn it on. (You can also refill your fresh water tank, and use your camper’s water pump.)
- Turn on all the sinks and faucets associated with your RV (including indoor and outdoor showers). Allow them to run for several minutes until the water comes out clean.
- Flush the toilets several times.
- Take the water heater off of bypass mode. (If you didn’t put your water heater on bypass mode, make sure to drain the antifreeze into an appropriate container for proper disposal.)
- Replace all water filters.
- If you used a garden hose to flush the system, make sure your water pump works before draining all your tanks.
- Take your camper to a dump station and dump the gray and black water tanks.
- Double-check all pipes for leaks.
6. Get your propane ready.
- Fill your propane tanks if they are empty.
- Reinstall the tanks and connect the propane hose.
- Make sure your hoses aren’t leaking by opening the propane valve slightly. Apply soapy water to where the hoses are connected to the propane tanks. If you see any bubbles form, you may have a leak that needs to be repaired.
Spring Cleaning
Now that your RV is inspected, cleaned, and dewinterized, you’ll want to make sure the inside shines, too. There is nothing worse than starting a season with a musty camper or realizing you forgot to restock something vital.
- Air your RV out. Open all the windows, doors, and cabinets. Let some air flow through.
- While your RV is airing out, check all the cabinets and storage areas for any animals, nests, or insects.
- Inspect your RV interior for signs of leaking. Look for discolored areas in the bathroom, under the sinks, and around the windows and doors.
- Clean any fans, air conditioning vents, and window screens. This will ensure you're not breathing in any dust or mildew. Screens and vents get dirty fast on the road, so it’s a good idea to clean them at least once a year.
- Wash all linens. Take all the bedding, curtains, and towels in for a good wash. Even if they were properly stored in the camper over the winter, washing them will make sure they aren’t musty and stale smelling.
- Deep clean the bathroom.
- Wipe down countertops.
- Clean the windows (and walls if they need them).
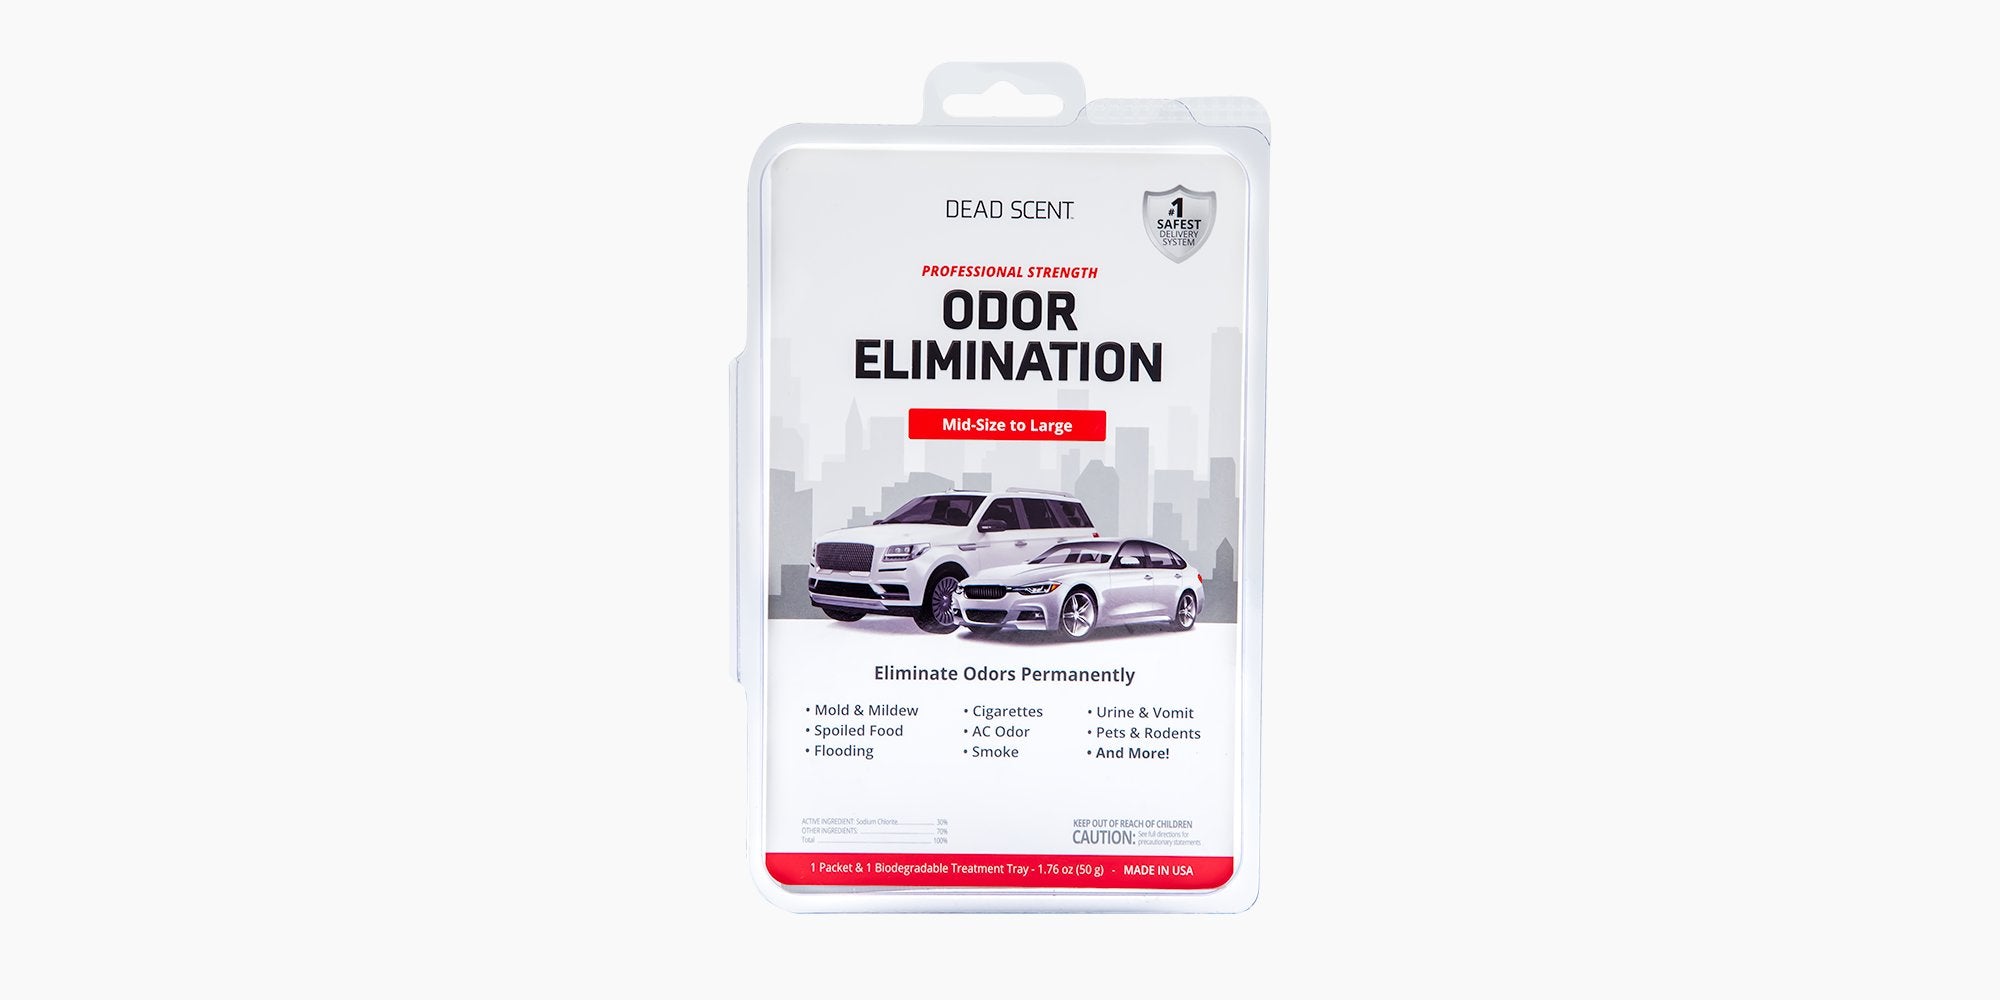
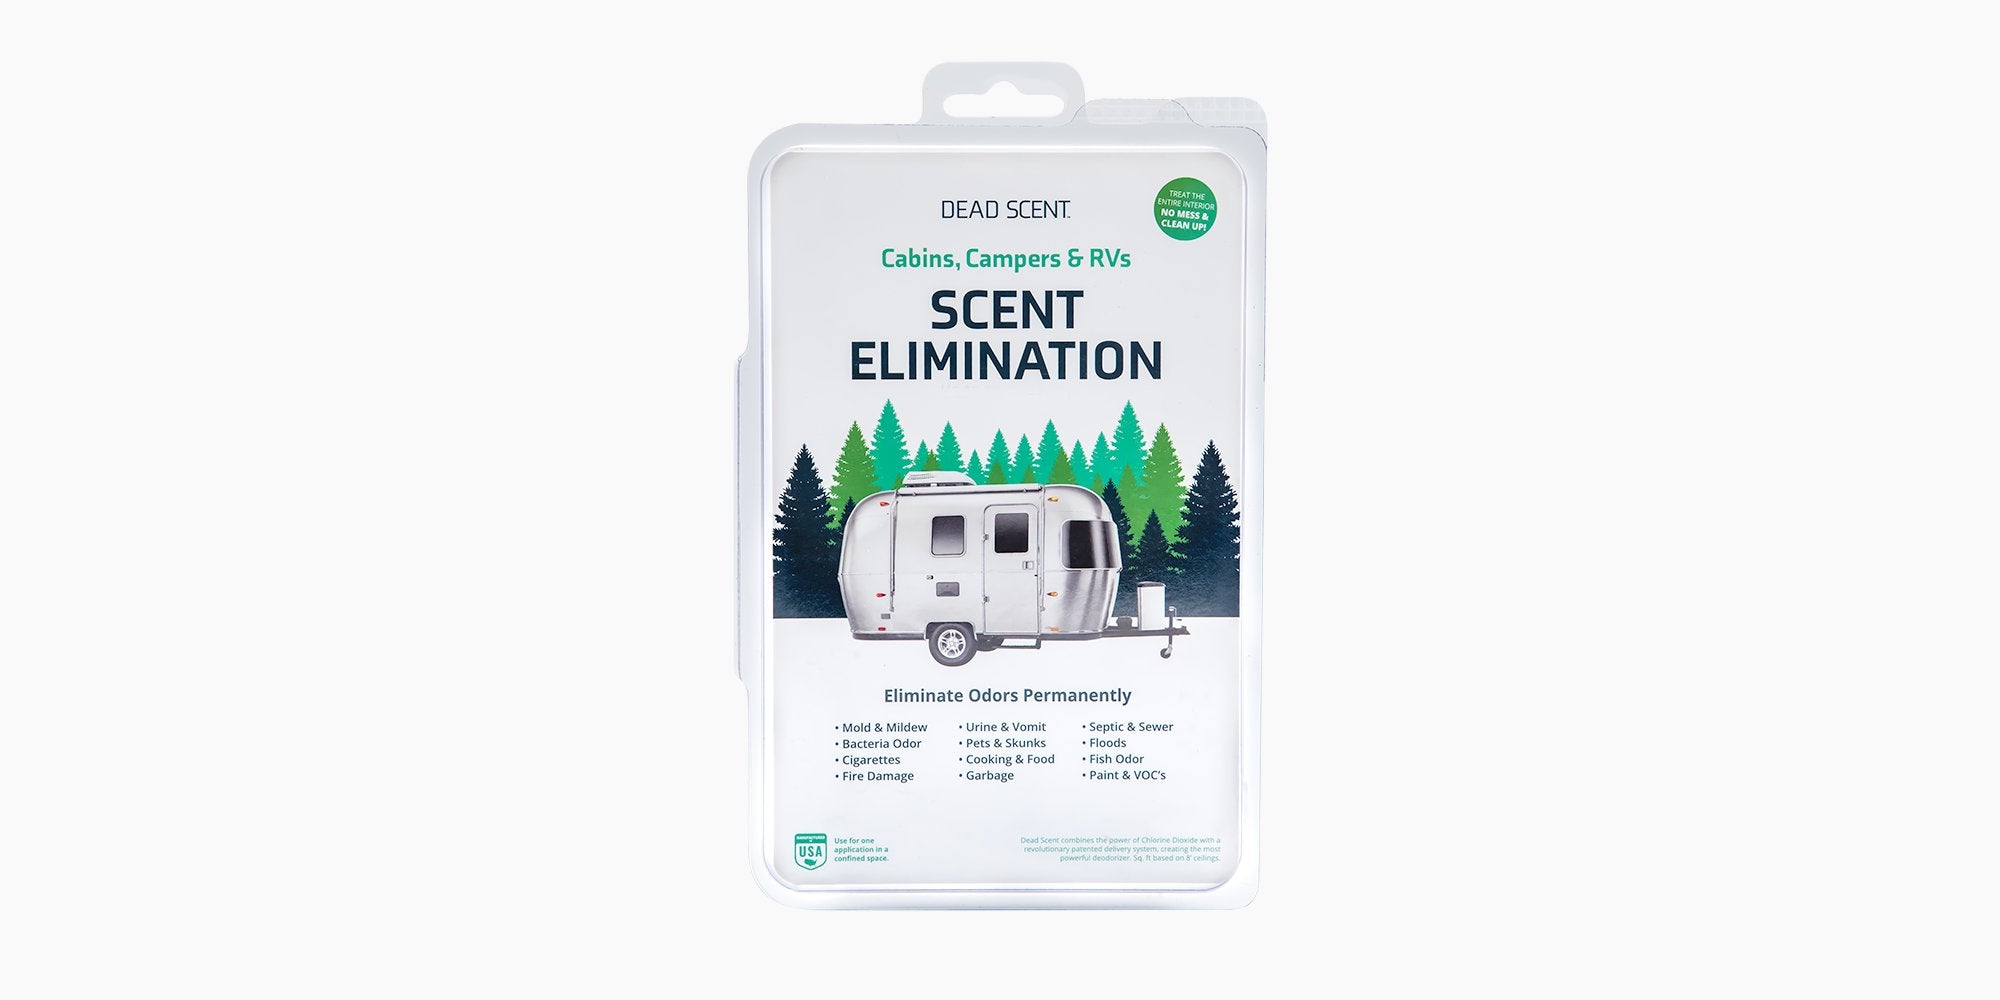
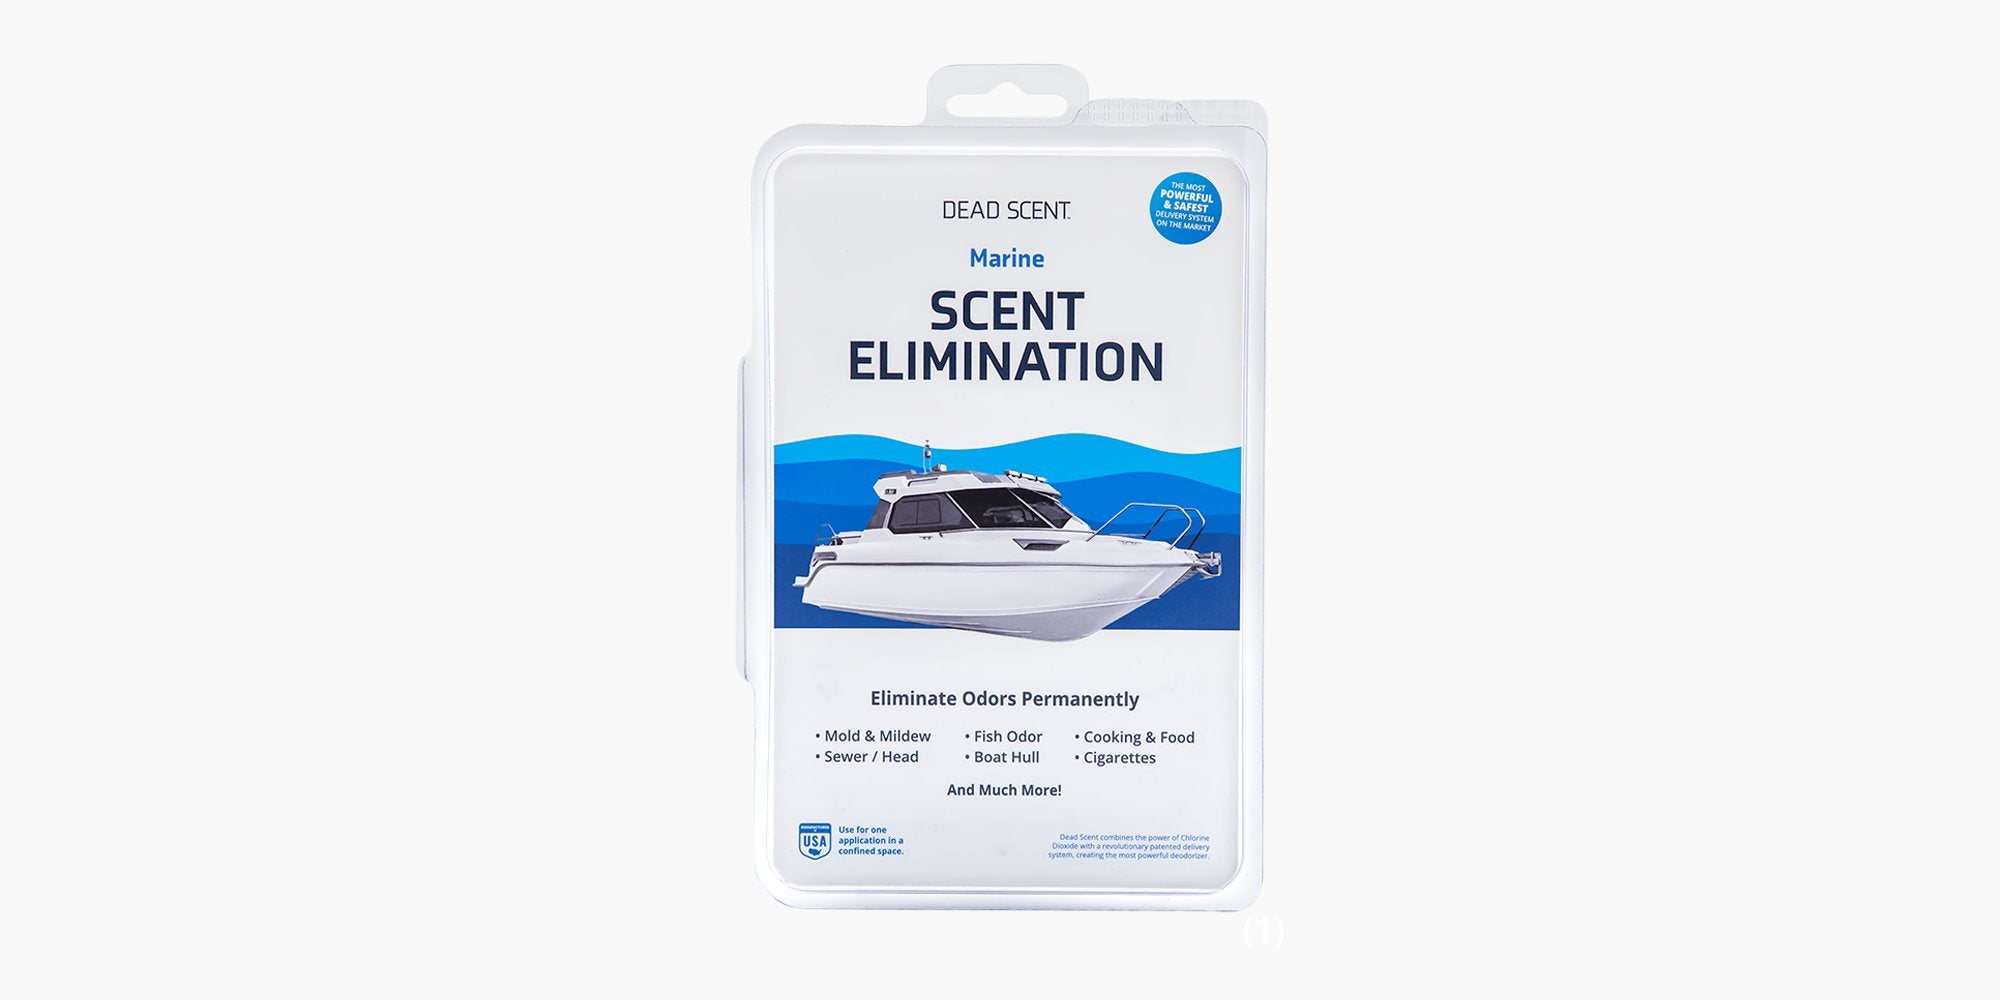
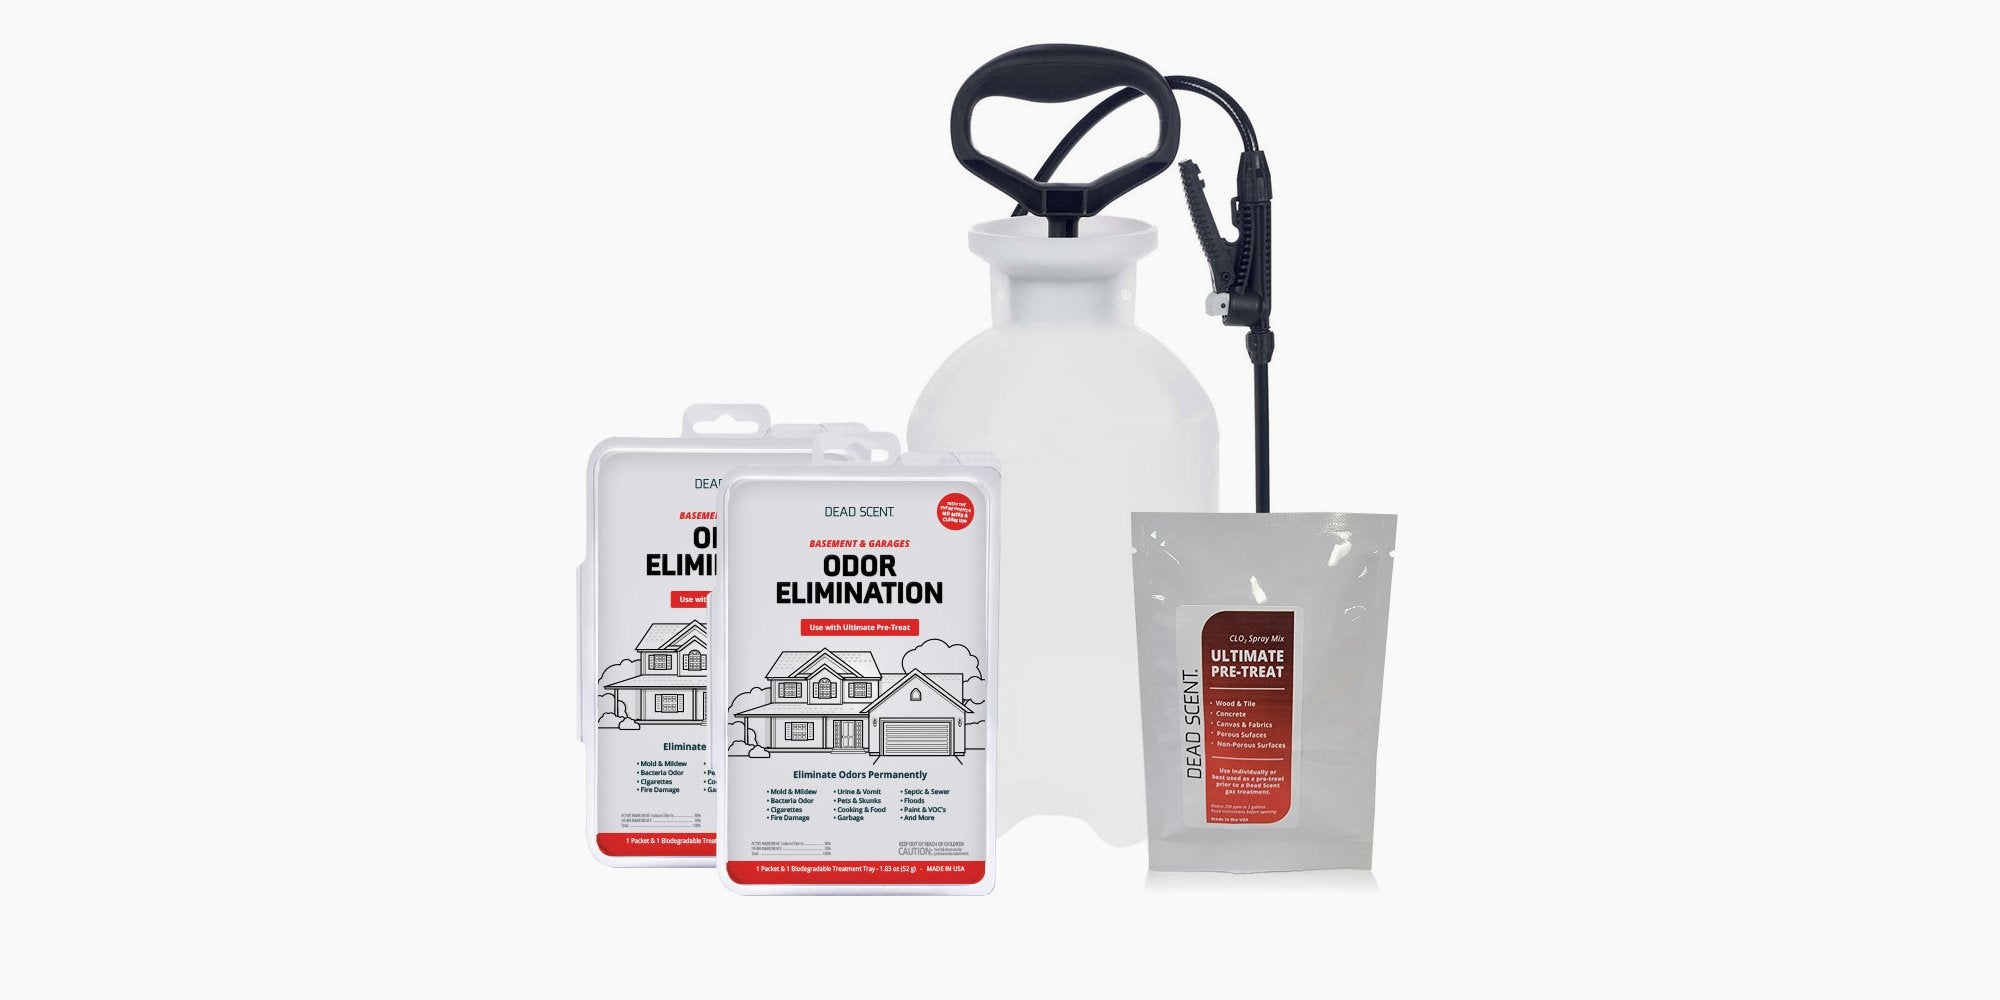
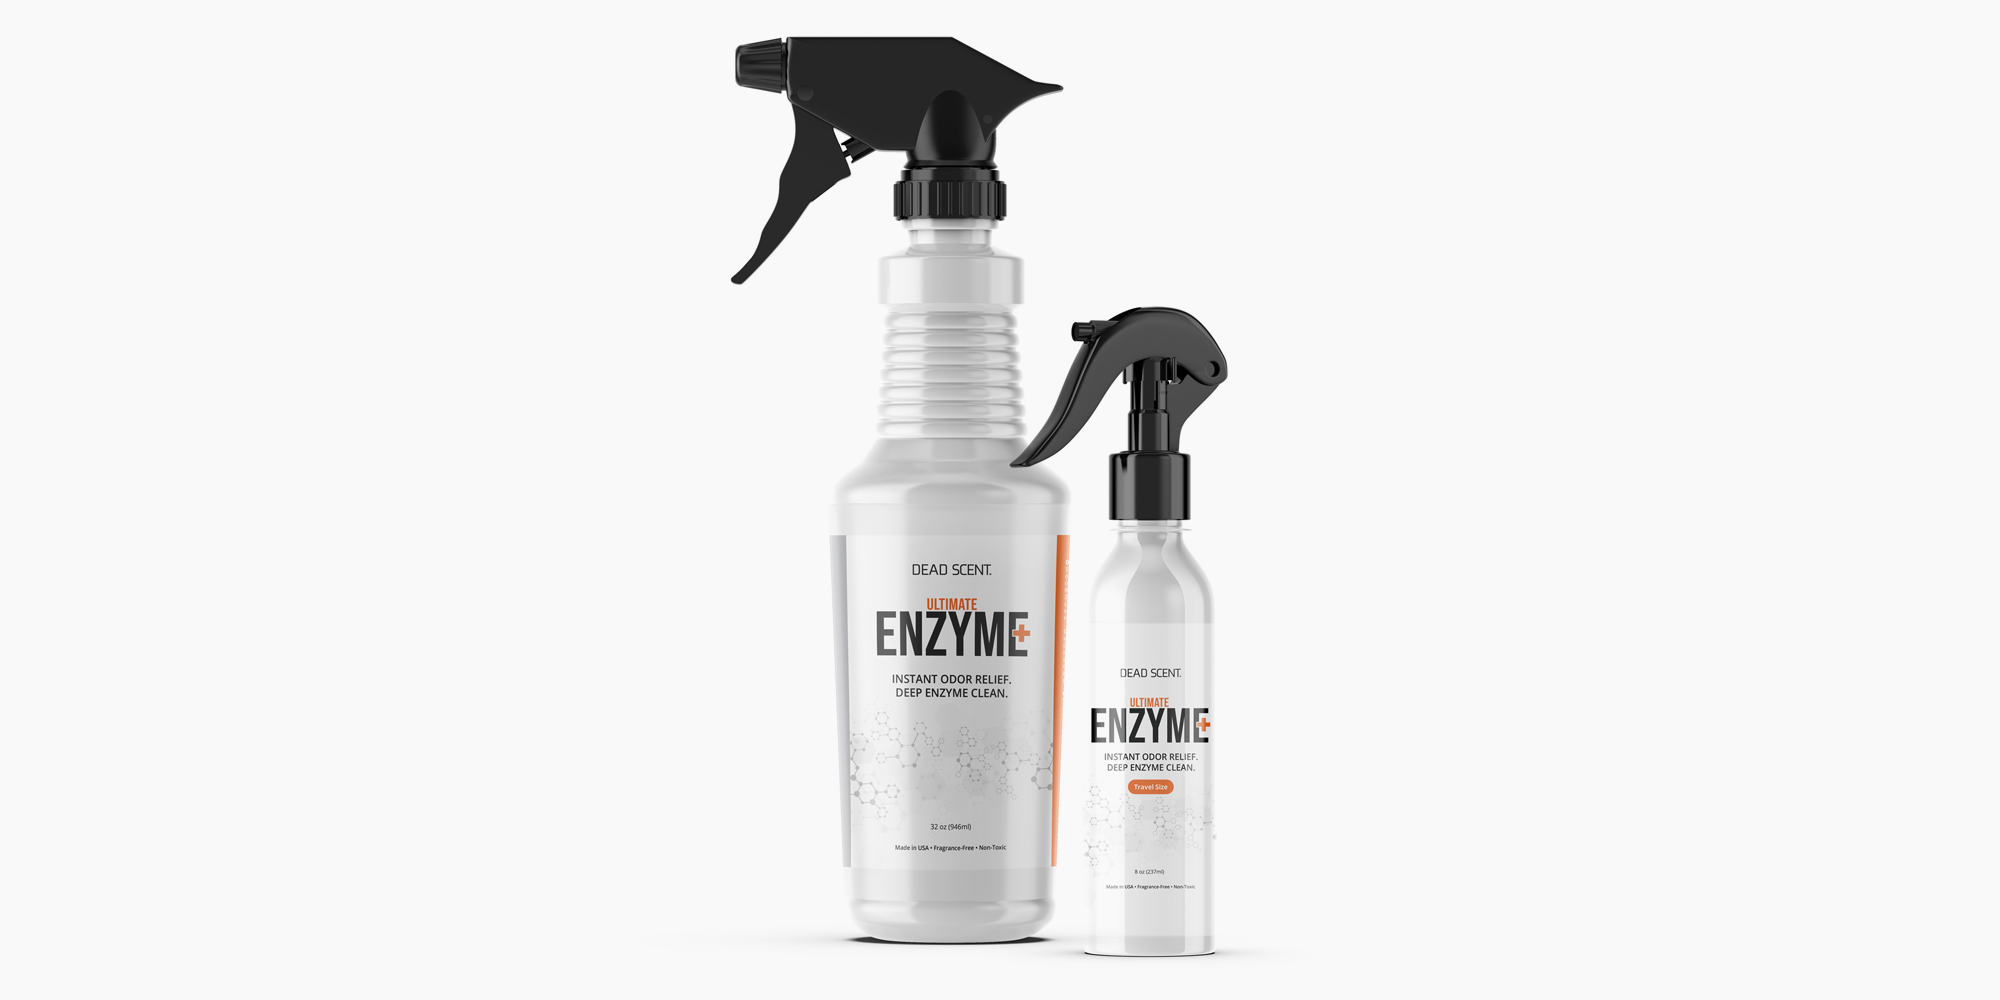
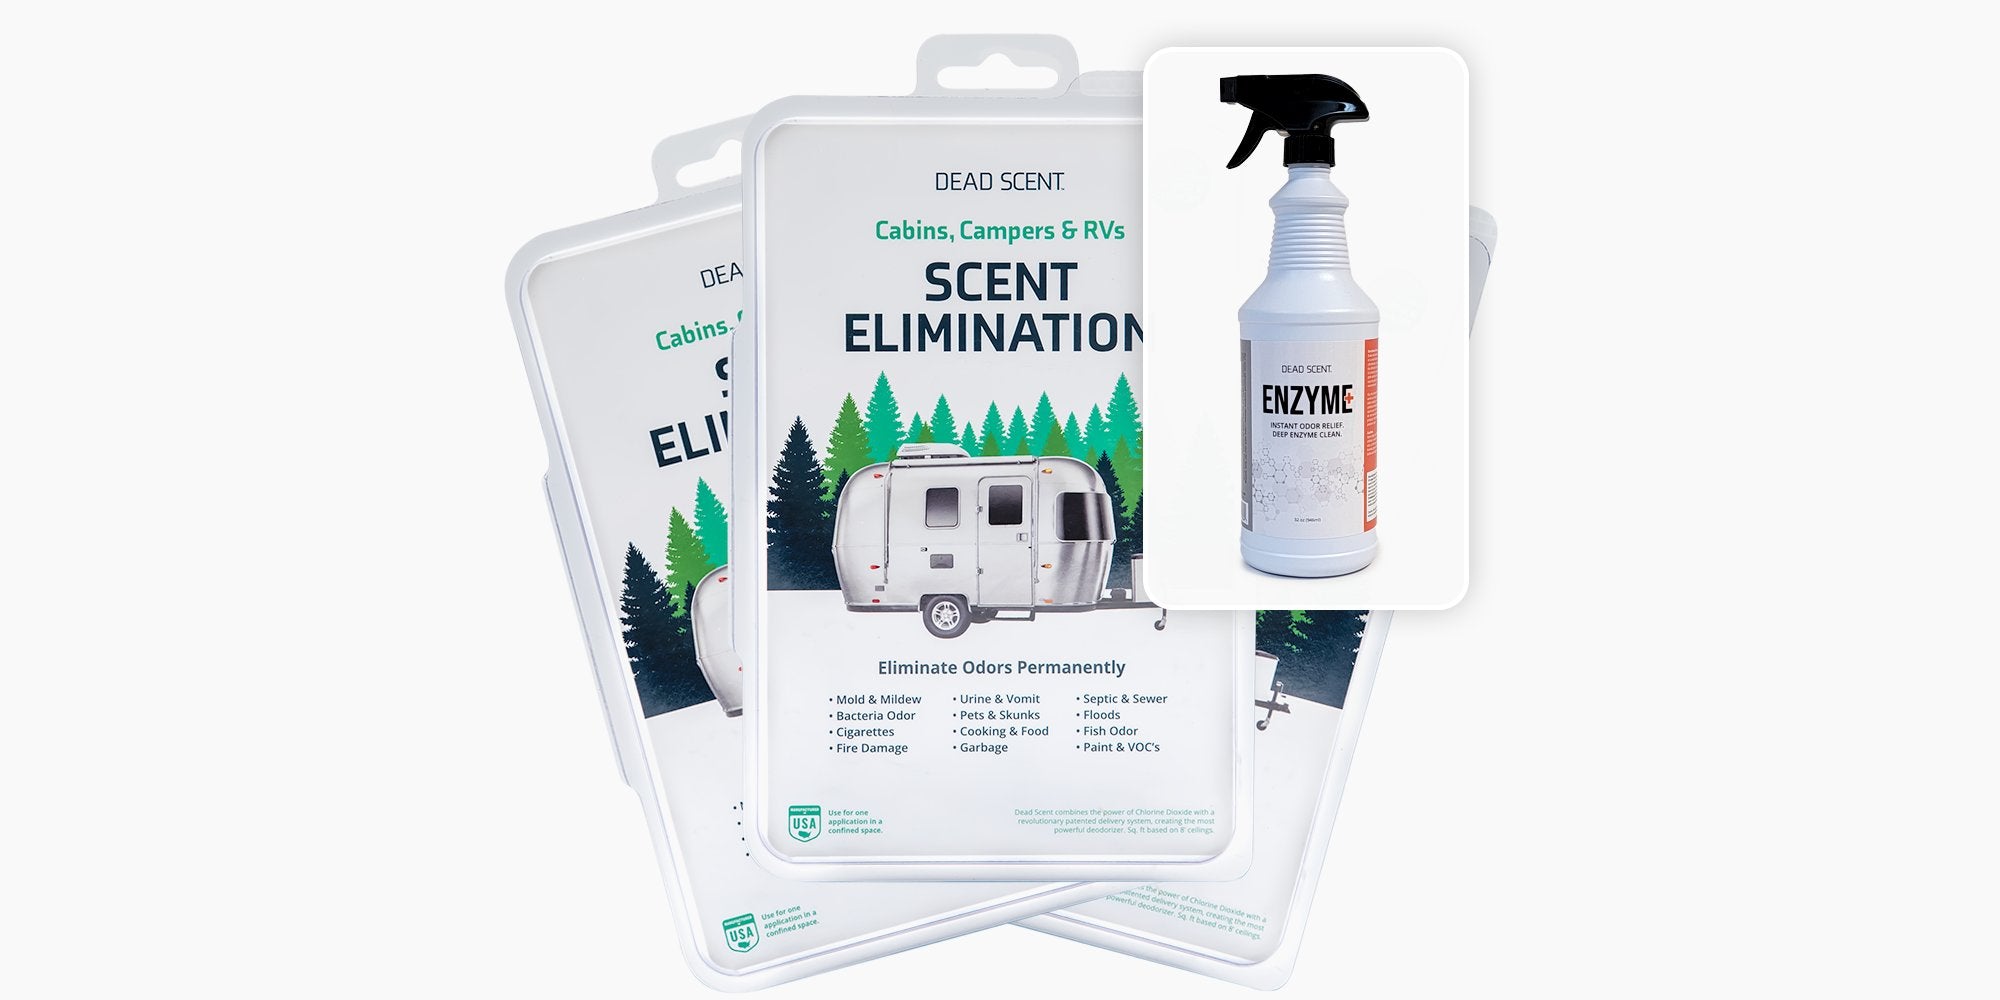
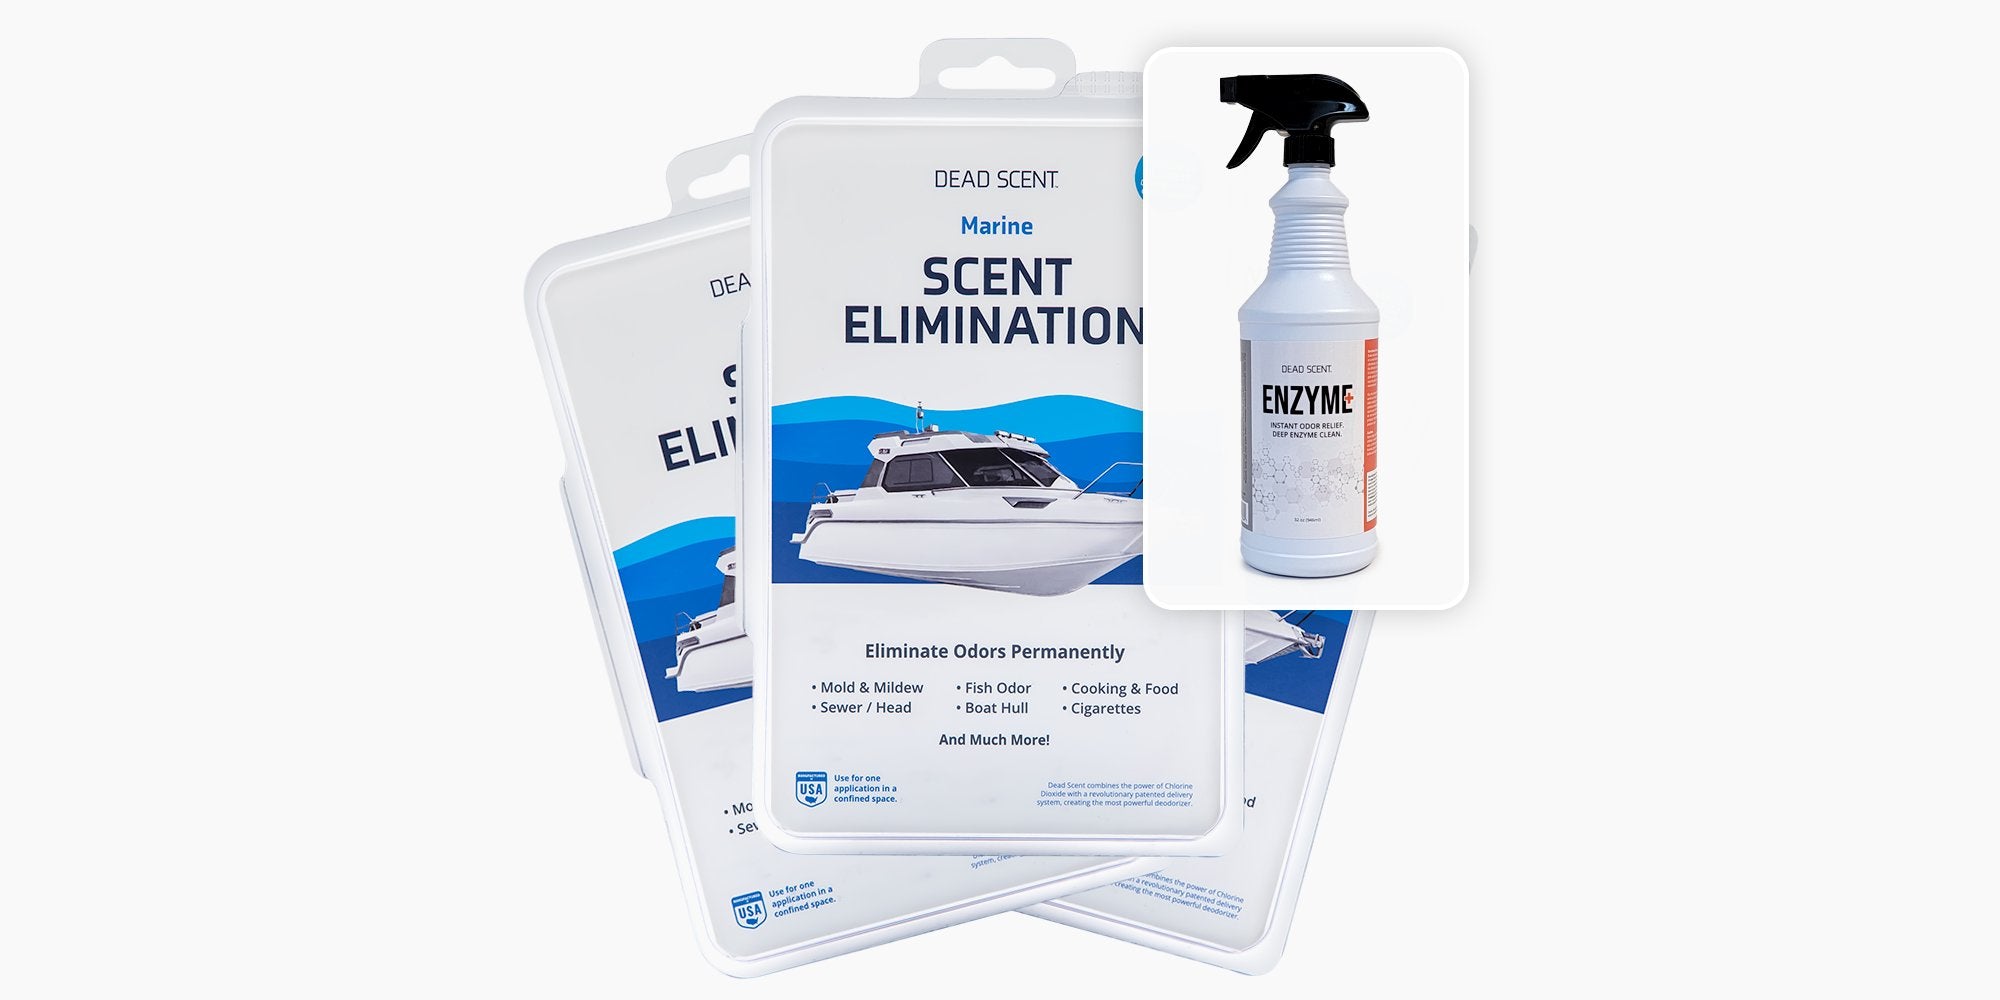
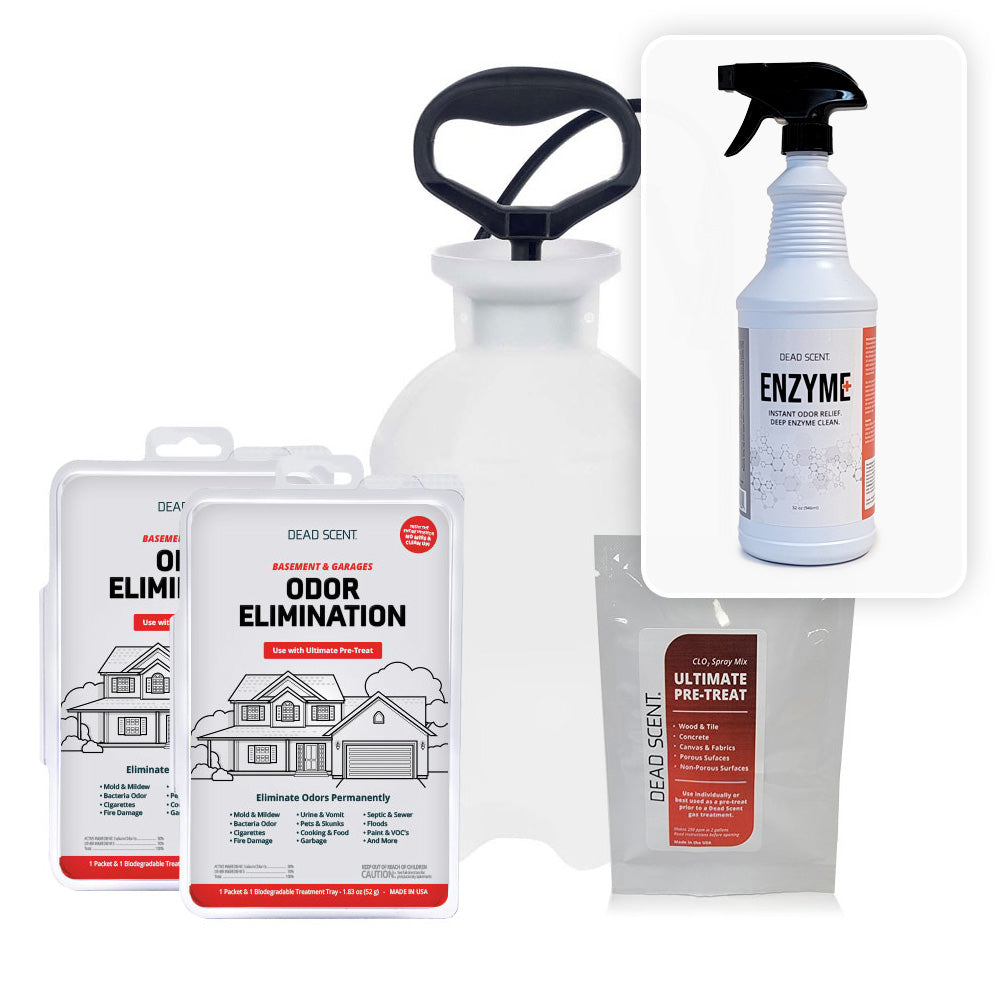
- Treat the interior of your RV with Dead Scent. This odor-eliminating product wipes out any bad smells from mold, mildew, pets, cooking buildup, and plumbing. It uses CLO2 to change the structure of molecules that cause foul smells, rendering them odorless. It even gets into fabrics and small spaces, so your RV smells cleaner than the day you bought it. And because the after product is refined salt, it is safe for you, your pets, and the environment.
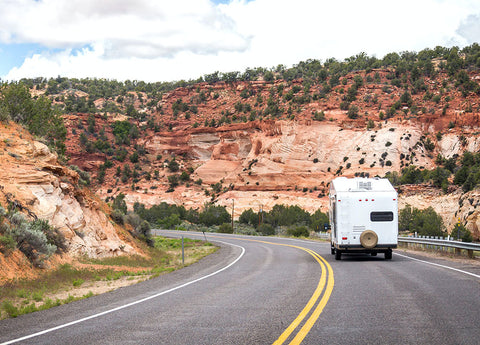
Plan Your Next Trip
Now that your RV is fixed up, cleaned up, and ready to go, you’re going to want to start planning your first spring trip.
Here are some places to consider if you are hoping to experience some spring flower beauty.
- Crested Butte, CO
- Great Smoky Mountains National Park in Tennessee or North Carolina
- Blue Ridge Parkway, Asheville, North Carolina
- Tulip Time Festival, Pella, Iowa
- Lake Tahoe, California
- Shenandoah National Park, Virginia
- Sugar Hill, New Hampshire
- Saguaro National Park, Tucson, Arizona